
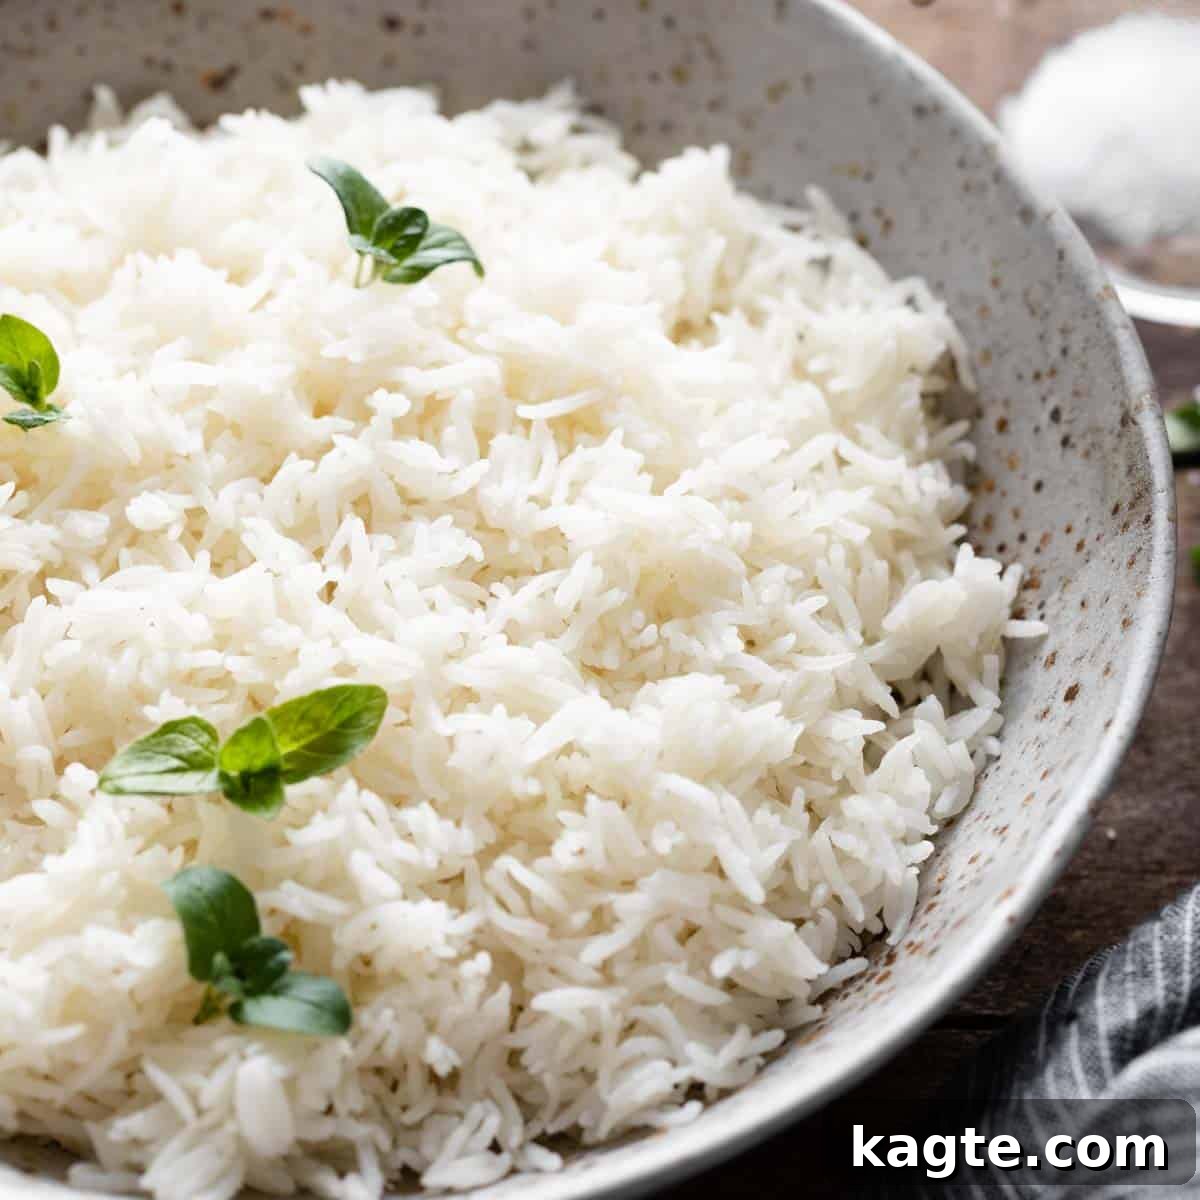
Welcome to the ultimate guide for cooking perfect Indian Instant Pot Basmati Rice! Forget soggy, sticky, or bland rice. With your Instant Pot, you can achieve flawlessly buttery, fluffy, and light basmati rice every single time, ready from start to finish in under 15 minutes. There’s no need for pre-soaking or a dedicated rice cooker when you master this simple, game-changing method. This recipe will transform your meal prep, providing the ideal foundation for any cuisine, from rich curries to vibrant stir-fries and everything in between.
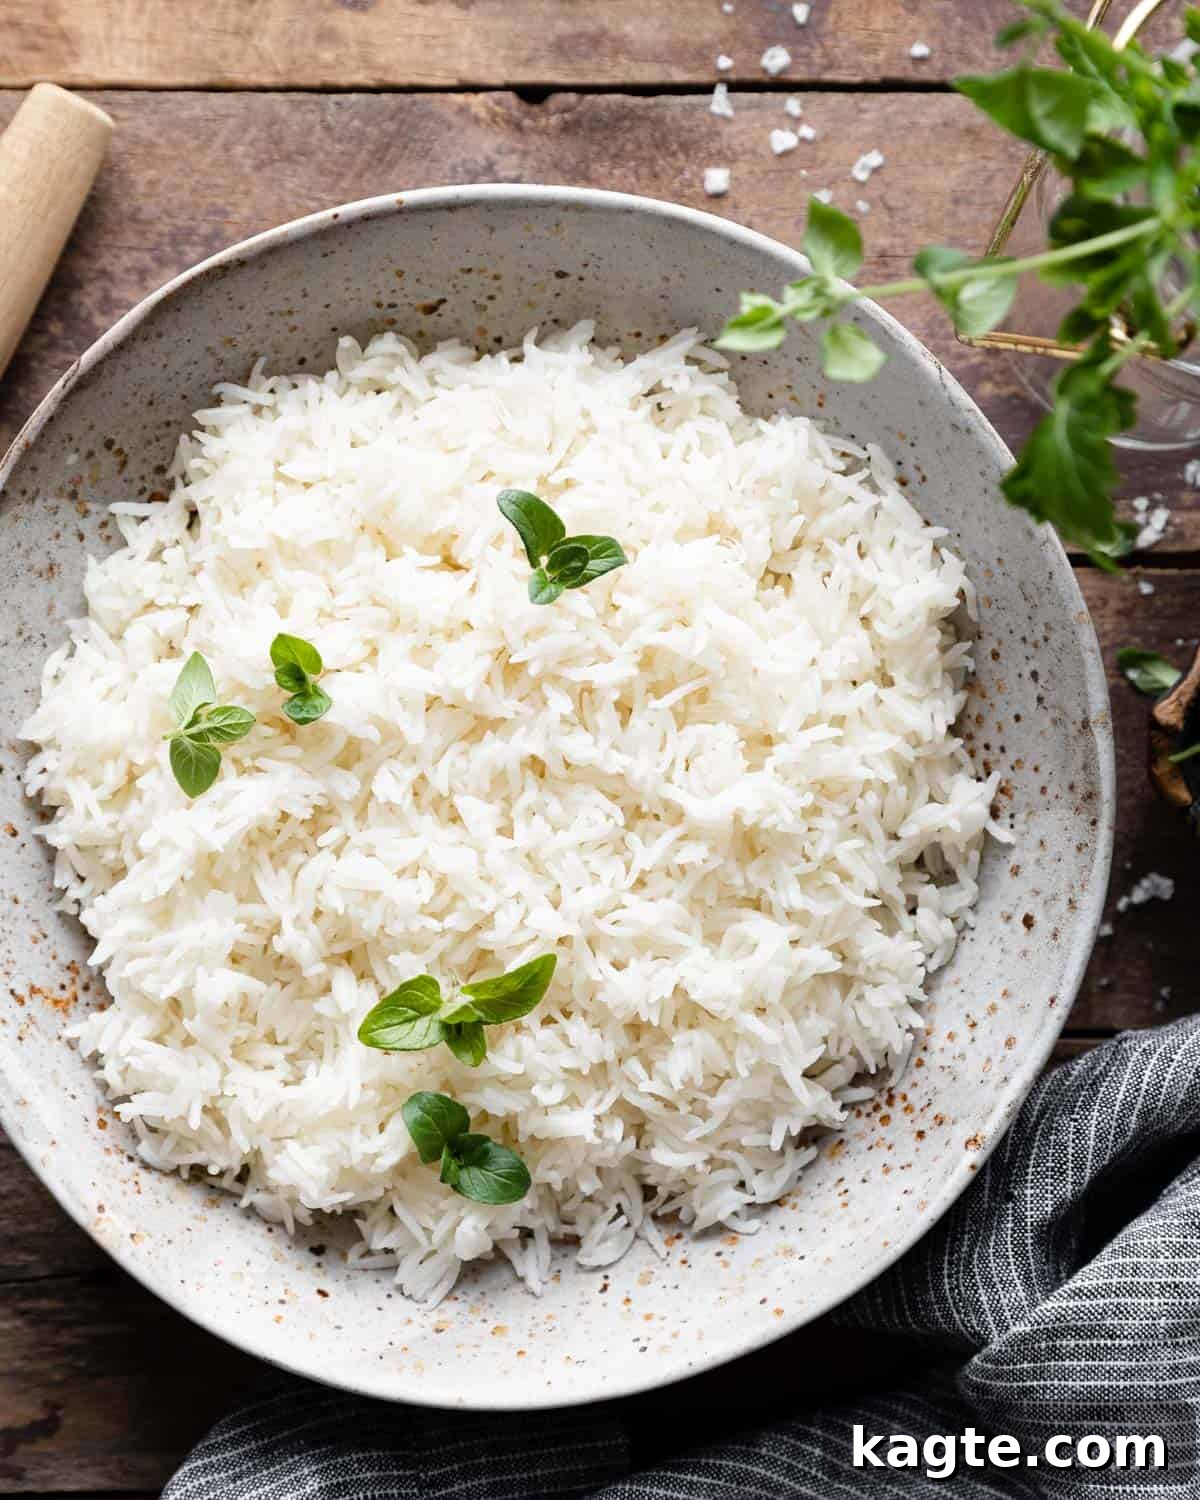
Looking to get more out of your Instant Pot? Explore other fantastic recipes like my easy Instant Pot Bacon or a comforting batch of Southern Instant Pot Green Beans. Your pressure cooker is capable of so much more!
Table of Contents
- What is Basmati Rice?
- Why You’ll Love This Instant Pot Basmati Rice Recipe
- Ingredient Notes & Substitutions
- How to Make Perfect Instant Pot Basmati Rice: Step-by-Step
- Expert Tips & Variations for Flawless Rice
- Recipe Serving Suggestions
- Recipe FAQs
- More Instant Pot Recipes You’ll Love
- Watch the How-To Video
- Instant Pot Basmati Rice Recipe Card
What is Basmati Rice?
Basmati rice is a distinct variety of long-grain rice, celebrated globally for its unique aroma, delicate flavor, and slender, elongated grains. Originating from the Indian subcontinent, particularly India and Pakistan, the name “Basmati” translates to “fragrant one” in Hindi, a testament to its characteristic nutty and floral scent. Unlike other rice varieties, basmati grains remain separate and fluffy after cooking, making it an ideal choice for dishes where you want distinct grains rather than a sticky mass.
You’ll find basmati rice in both white and brown versions. While both offer that signature aroma, white basmati cooks faster and is typically fluffier, which is what we’ll focus on in this recipe. Brown basmati, being a whole grain, retains its bran layer, offering more fiber and a chewier texture, requiring a slightly different cooking approach.
For consistent results, I often recommend well-known brands such as Royal, Tilda, or Daawat. High-quality basmati rice will yield the best flavor and texture.
Why You’ll Love This Instant Pot Basmati Rice Recipe
Cooking basmati rice in the Instant Pot is not just a convenience; it’s a revelation. This method consistently delivers results that are superior to traditional stovetop cooking or even dedicated rice cookers. Here’s why this recipe will quickly become your go-to:
- Effortlessly Perfect Texture: Say goodbye to mushy or undercooked rice. This no-soak basmati rice comes out perfectly al dente, light, and incredibly fluffy every time. Each grain is separate and tender, never clumping together.
- Buttery and Flavorful: A touch of butter and proper seasoning infuses every grain with rich, savory flavor that elevates any meal. The sautéing step truly unlocks the rice’s inherent nutty notes.
- Unbeatable Speed: This recipe takes less than 15 minutes from start to finish, significantly faster than stovetop methods that can take 20 minutes or more, not including constant monitoring. Your Instant Pot does all the heavy lifting, freeing you up to focus on other parts of your meal.
- Consistent Results, Zero Stress: The Instant Pot’s precise pressure and temperature regulation eliminate the guesswork. You don’t need to adjust stove temperatures or worry about boil-overs. Just set it and forget it!
- No Soaking Required: Unlike many traditional basmati rice recipes that call for soaking for 30 minutes or more, this Instant Pot method skips that step entirely without compromising quality. This saves you valuable time and simplifies the process.
- Dietary Friendly: Most rice is naturally gluten-free. This recipe can easily be made dairy-free or vegan by simply swapping butter for olive oil or vegan butter. All you truly need is rice and water (or broth) for a delicious, versatile side.
- The Perfect Accompaniment: This Indian basmati rice is the ultimate side dish for a wide array of meals. It pairs beautifully with curries, stews, roasted vegetables, grilled proteins, or serves as a fantastic base for grain bowls and salads.
Once you experience the ease and perfection of Instant Pot Basmati Rice, you’ll wonder how you ever cooked it any other way!
Essential Ingredients for Perfect Instant Pot Basmati Rice
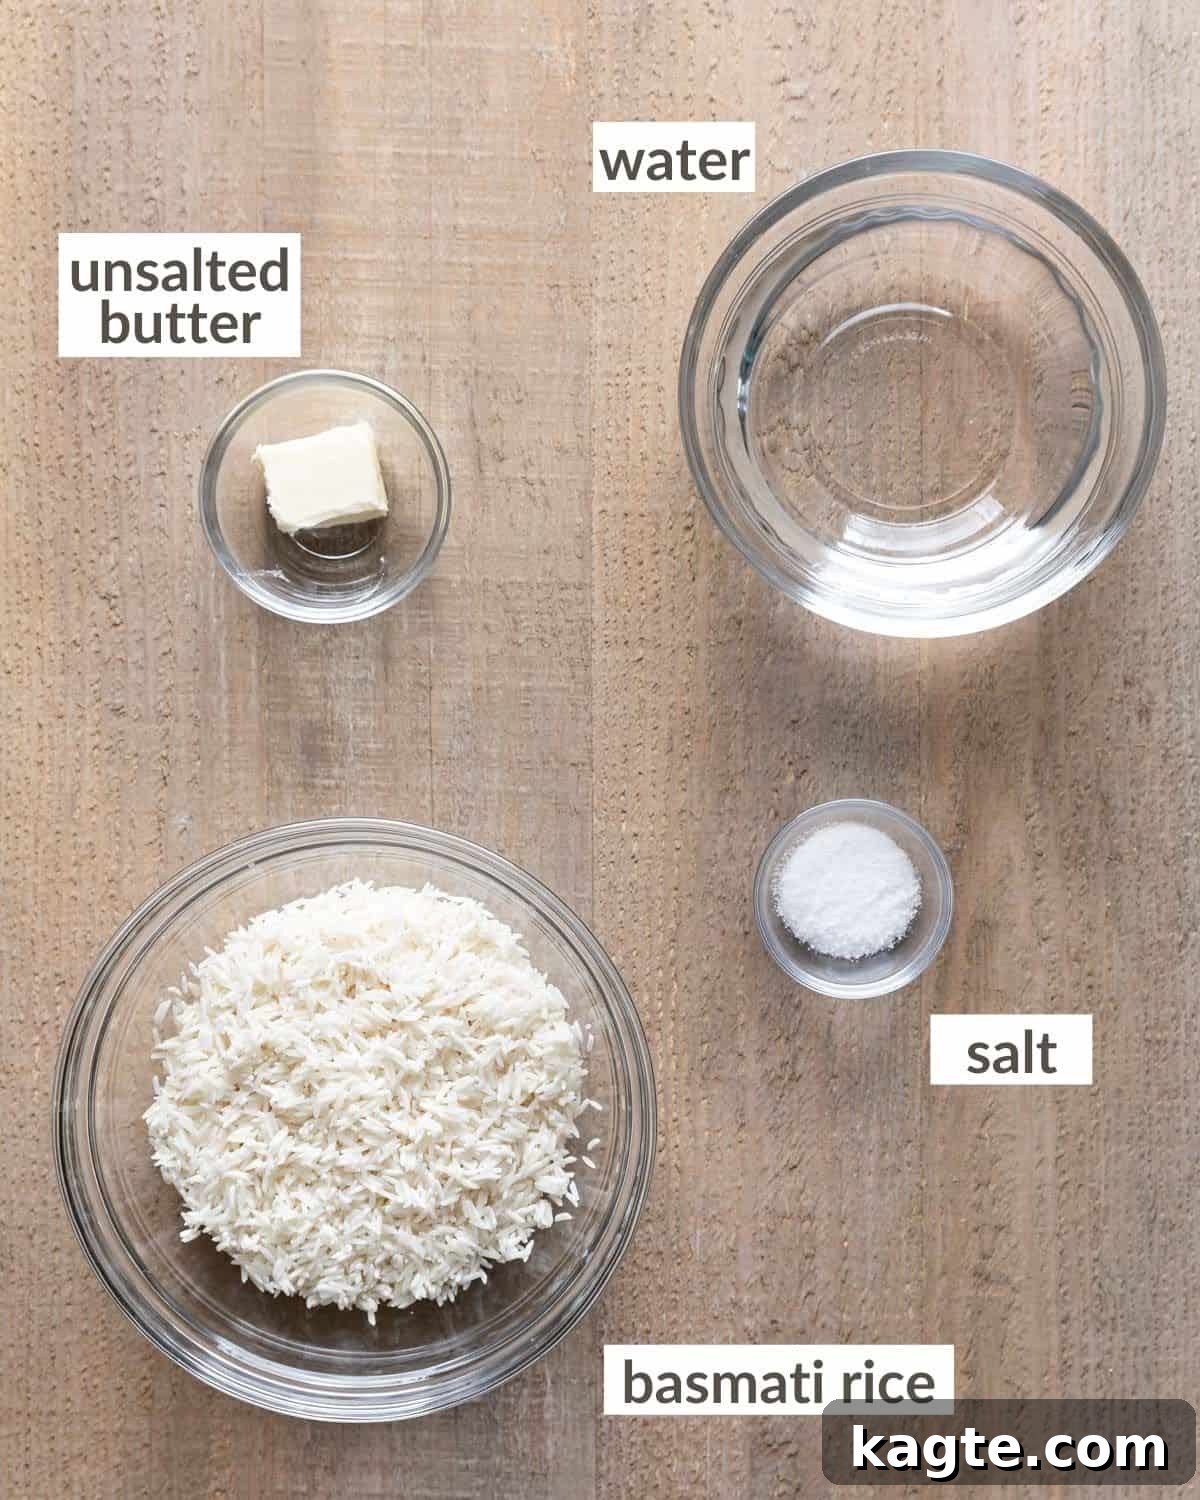
Achieving outstanding basmati rice requires only a few high-quality ingredients. Each plays a vital role in the final texture and flavor:
- White Indian Basmati Rice (rinsed & drained well): The star of our show! Opt for good quality white basmati rice for its fragrant aroma and distinct long grains. Rinsing is a crucial step to remove excess starch, which is key to preventing sticky, mushy rice and ensuring perfectly separate, fluffy grains. Do not use brown basmati rice for this specific recipe, as its different structure requires longer cooking times and a different liquid ratio.
- Unsalted Butter: Butter adds incredible richness and depth of flavor, making the rice taste wonderfully indulgent. It also helps to coat each grain, further preventing sticking.
- Substitution: For a dairy-free or vegan option, or if you prefer a lighter taste, swap for 1 tablespoon of olive oil, ghee, or your favorite vegan butter.
- Water: The primary cooking liquid. Using the correct ratio of water to rice is paramount in the Instant Pot to achieve that ideal fluffy texture.
- Substitution: For an extra layer of flavor, consider swapping water for chicken broth, vegetable broth, or even a light bone broth. This can add a savory complexity, especially if you’re serving the rice with plainer main dishes.
- Salt: A non-negotiable ingredient that enhances all the other flavors. Adding salt before cooking allows the grains to absorb the seasoning evenly, resulting in perfectly flavored rice from within.
- Optional Flavor Boosters:
- Garlic: For an aromatic twist, add 1/4 teaspoon of granulated garlic powder per cup of rice during the sautéing step.
- Whole Spices: For an authentic Indian touch, consider adding a couple of green cardamom pods, a small cinnamon stick, or a few cloves during the sautéing phase. Remove them before serving.
A complete list of exact ingredients and amounts for this recipe is detailed on the recipe card below.
How to Make Perfect Instant Pot Basmati Rice: Step-by-Step
Cooking basmati rice in the Instant Pot is incredibly straightforward and yields superior results with minimal effort. Follow these simple steps for perfectly fluffy, fragrant rice every single time.
Quick Overview
- Prepare the rice: Rinse thoroughly.
- Sauté aromatic: Melt butter and lightly toast rice.
- Pressure cook: Add liquid and salt, then cook under high pressure.
- Release pressure & serve: Allow natural release, then quick release, fluff, and enjoy!
Step-by-Step Instructions
Step 1: Rinse the Rice Thoroughly
Before you begin, place your desired amount of basmati rice in a fine-mesh strainer or a specialized rice colander. Rinse the rice under cold running water, gently agitating it with your fingers. Continue rinsing until the water runs almost completely clear, indicating that most of the excess starch has been removed. This step is critical for achieving separate, non-sticky grains. Once rinsed, allow the rice to drain thoroughly.
Step 2: Sauté the Butter and Rice
Select the “Sauté” mode on your Instant Pot. Add the unsalted butter (or your chosen oil/vegan butter) to the pot. Stir until the butter is completely melted and shimmering. Add the rinsed and drained basmati rice to the melted butter. Sauté for 1-2 minutes, stirring continuously to ensure each grain is lightly coated. This light toasting helps to enhance the nutty flavor of the basmati rice. After sautéing, press “Cancel” or “OFF” to turn off the Instant Pot’s sauté function completely.
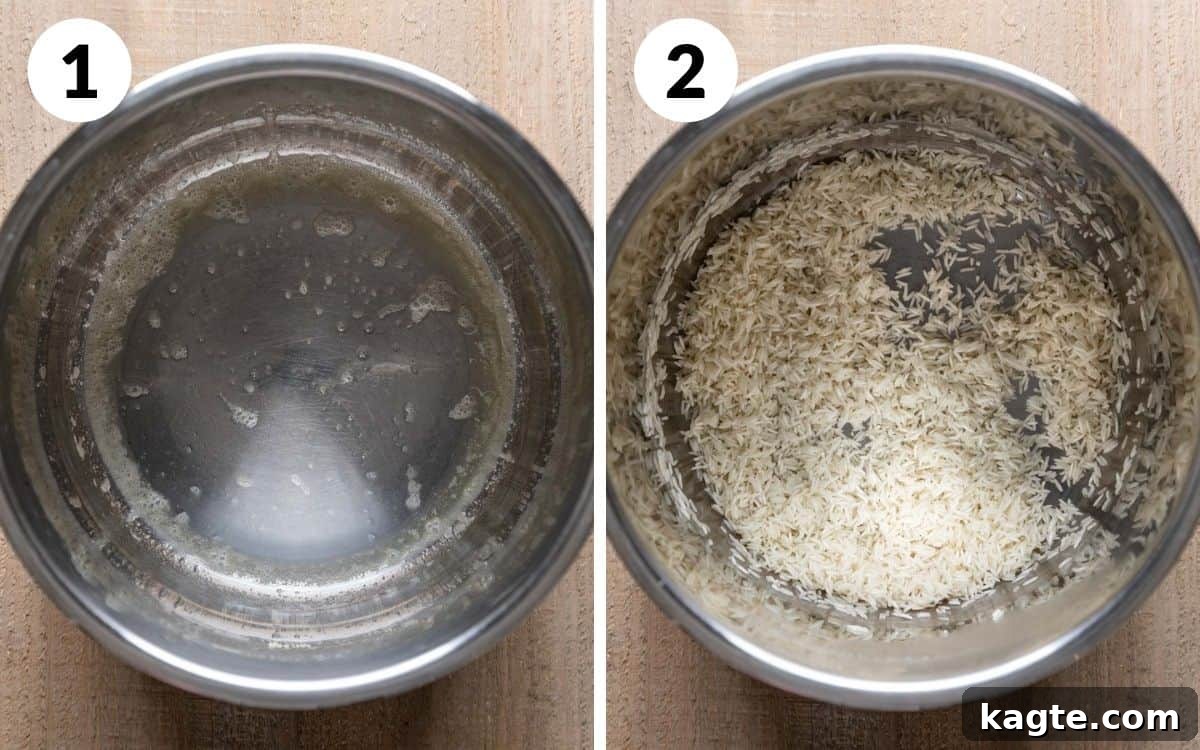
Sautéing the rice in butter (or oil) before adding liquid dramatically enhances its flavor and helps ensure the grains cook up light and separate. Don’t skip this step!
Step 3: Add Liquid and Salt
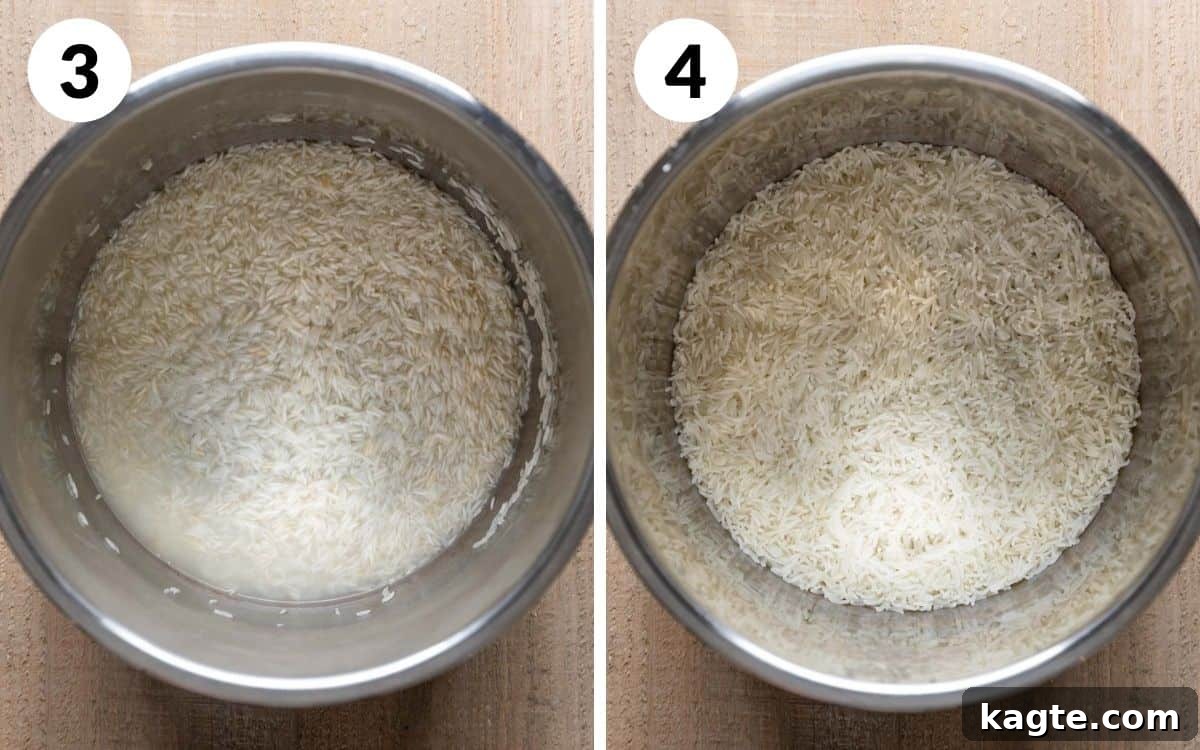
Pour in the water (or broth) and add the salt to the Instant Pot. Give it a gentle stir to combine, making sure no rice is sticking to the bottom of the pot, as this can lead to a “Burn” error. Ensure the rice forms an even layer at the bottom of the pot.
Step 4: Pressure Cook and Release
Secure the lid on your Instant Pot and ensure the sealing ring is properly in place and the steam release valve is set to the “Sealing” position. Select “Pressure Cook” (or “Manual” on older models) and set it to “High Pressure.” Set the cooking time for 4 minutes. If you prefer your rice slightly softer, you can set it for 5 minutes. Once the cooking cycle is complete, allow a Natural Pressure Release (NPR) for 5 minutes. This means you do nothing and let the pressure dissipate naturally for five minutes. After 5 minutes, carefully turn the steam release valve to the “Venting” position for a Quick Release (QR) to let out any remaining pressure. Be cautious of the hot steam.
Crucially, after the 5-minute natural release and quick release, immediately remove the lid. Leaving the lid on will allow the residual heat to continue steaming the rice, potentially leading to an overcooked, mushy texture. Also, ensure the “Keep Warm” setting is turned OFF to prevent overcooking.
Step 5: Fluff and Serve
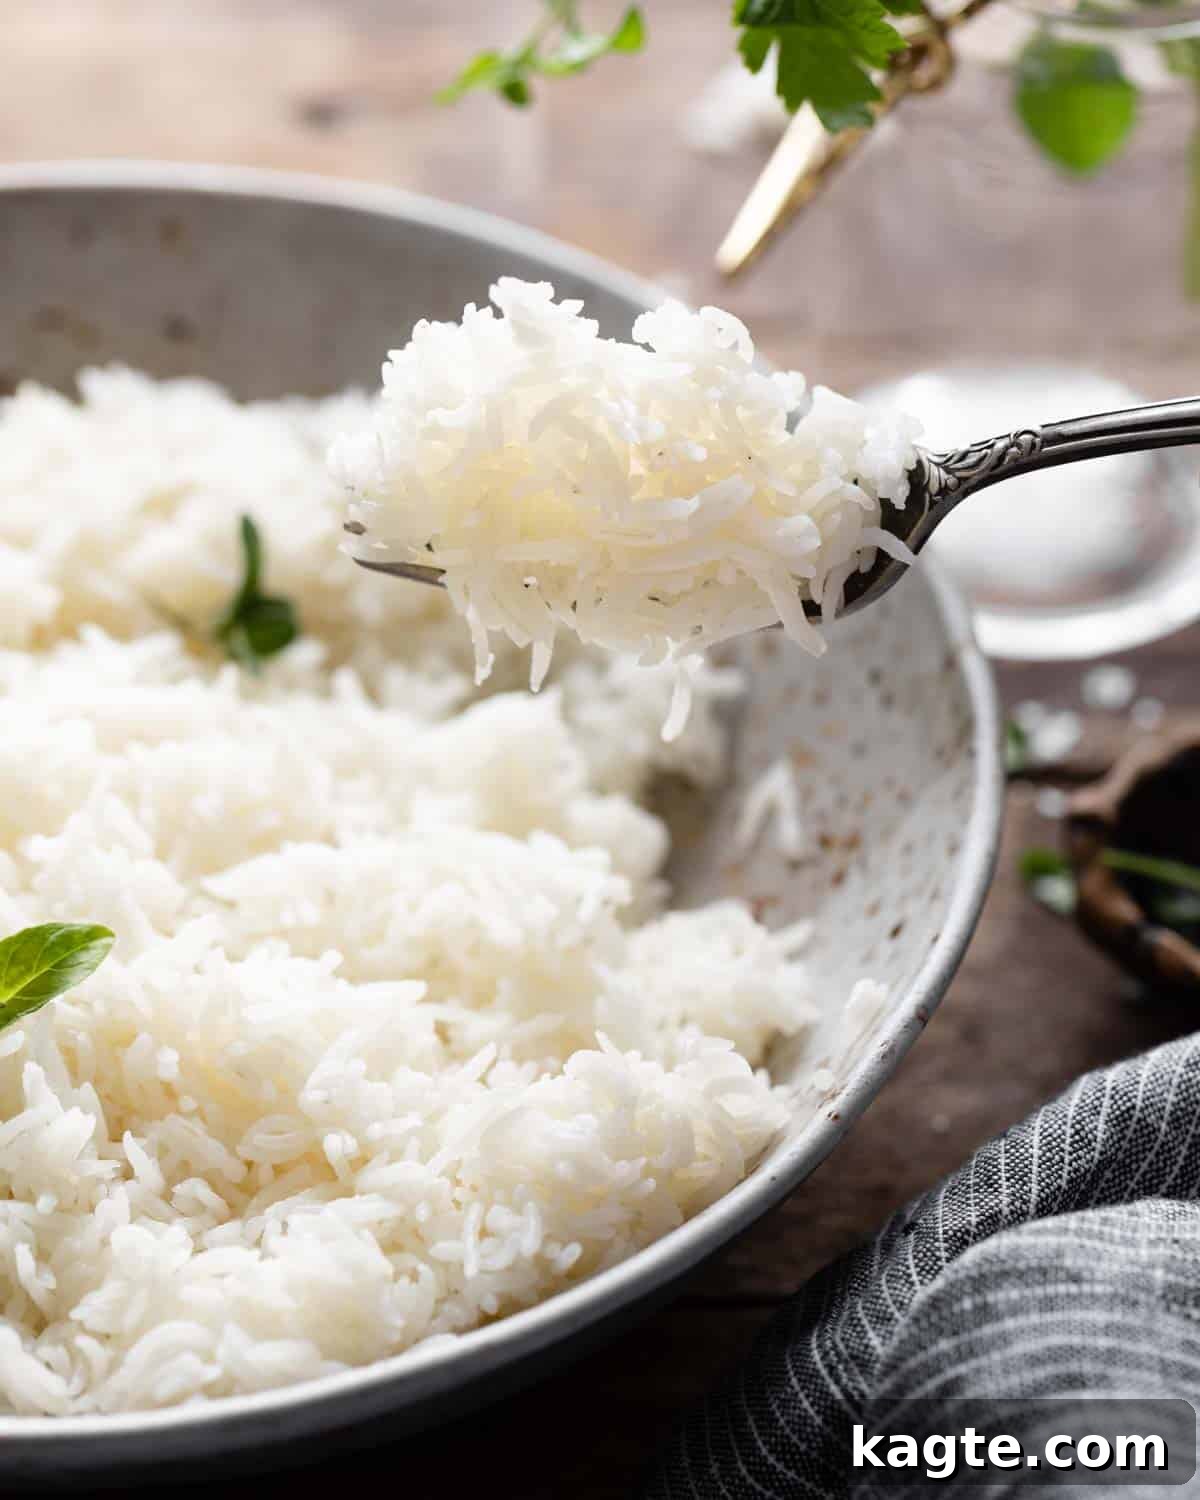
Once the lid is safely removed, gently fluff the basmati rice with a fork. This helps to separate the grains further and release any remaining steam, ensuring maximum fluffiness. Your perfectly cooked, aromatic basmati rice is now ready to be served as a delightful accompaniment to your favorite meals!
Expert Tips & Variations for Flawless Rice
Achieving perfect basmati rice in your Instant Pot is incredibly easy, but a few expert tips can elevate your results from good to exceptional. These insights will help you avoid common pitfalls and unlock the full potential of this versatile grain.
- Rinse the Rice Well, Without Fail: This is arguably the most crucial step for fluffy, separate grains. Place the basmati rice in a fine mesh strainer or a rice colander and rinse it under cold running water until the water coming out is almost clear. This process removes excess surface starch, which is the primary culprit behind sticky or clumpy rice. Allow it to drain completely before adding it to the Instant Pot.
- The Power of Butter and Salt: These seemingly simple ingredients are flavor heroes. Always add salt before cooking so the rice grains can absorb it evenly from the inside out. A tablespoon of butter not only adds a rich, luxurious flavor but also coats each grain, helping them to remain separate and preventing them from sticking together. For a dairy-free option, good quality olive oil or ghee works wonderfully.
- Don’t Skip the Sauté Step: Sautéing the rinsed rice in butter or oil for 1-2 minutes before adding the liquid is a game-changer. This brief toasting process brings out the inherent nutty aroma and flavor of the basmati grains, adding a depth that simply boiling cannot achieve. Just be sure to turn off the sauté mode completely before adding the water and sealing the lid.
- Remove the Lid Promptly After Release: Once the pressure has naturally released for 5 minutes, followed by a quick release of any remaining pressure, immediately remove the Instant Pot lid. If the rice remains covered in the residual heat and steam, it will continue to cook, leading to an overcooked, mushy texture. Lifting the lid stops the cooking process and allows the rice to breathe.
- Fluff with a Fork: After removing the lid, use a fork to gently fluff the rice. Avoid using a spoon, which can mash the grains. Fluffing helps to separate the grains, releases any lingering steam, and creates that characteristic light and airy texture.
- Flavor Variations:
- Garlic Infusion: For an extra layer of aromatic flavor, add 1/4 teaspoon of granulated garlic powder per cup of rice when you’re sautéing the grains.
- Whole Spices (Indian Style): To replicate authentic Indian restaurant-style basmati, add a couple of whole green cardamom pods, a small piece of cinnamon stick, and 2-3 cloves during the sautéing step. Remove them before serving for a delicate, fragrant rice.
- Herbs: Fresh chopped cilantro or parsley stirred in after cooking can add a burst of freshness.
- Lemon/Lime Zest: A little citrus zest fluffed into the cooked rice can brighten its flavor beautifully.
- Adjusting for Softer Rice: If you find 4 minutes of high-pressure cooking results in rice that’s slightly too firm for your preference, simply increase the cooking time to 5 minutes. Keep the 5-minute natural release constant.
- Storage and Reheating: Leftover basmati rice stores well in an airtight container in the refrigerator for up to 3-4 days. To reheat, sprinkle a tablespoon or two of water over the rice, cover, and microwave until heated through, or gently warm on the stovetop with a lid.
- This Recipe is for WHITE Basmati Rice: Please note that this specific ratio and cooking time is optimized for white basmati rice. Brown basmati rice requires different liquid ratios and significantly longer cooking times due to its bran layer.
Recipe Serving Suggestions
This Instant Pot Basmati Rice recipe is incredibly versatile and quickly became a weekly staple in my kitchen. Its light, fluffy texture and delicate flavor make it the perfect canvas for a wide variety of cuisines and dishes. Here are some fantastic ways to serve your perfectly cooked basmati rice:
- With Indian & Asian Curries: The classic pairing! Basmati rice is essential for soaking up the rich, aromatic sauces of Indian, Thai, and other Asian curries. Try it with a creamy butter chicken, a spicy vindaloo, or a vibrant vegetable curry.
- Alongside Grilled or Roasted Proteins: Whether it’s chicken, fish, or beef, basmati rice is a light and satisfying side. It’s fantastic with dishes like my Greek Yogurt Chicken, Air Fryer Orange Chicken, or Air Fryer Teriyaki Chicken Thighs.
- Hearty Stews & Braises: The delicate grains are perfect for absorbing the savory liquids of stews and braised meats. Serve it with a hearty beef stew, lamb tagine, or even my Instant Pot Shredded Beef.
- Stir-Fries & Asian-Inspired Dishes: Pair this fluffy rice with your favorite stir-fry, like a flavorful Hunan Shrimp, or as a base for sesame chicken or sweet and sour pork.
- Nourish Bowls & Salads: Basmati rice makes an excellent, wholesome base for custom nourish bowls packed with roasted vegetables, lean protein, and a flavorful dressing. It’s also a great addition to cold grain salads.
- As a Simple Side Dish: Sometimes, simplicity is best. Serve it unadorned with a pat of butter and a sprinkle of fresh herbs alongside any main course for a comforting and easy meal.
- With Lentils & Daals: A staple in Indian cuisine, basmati rice is the perfect accompaniment to various lentil preparations (daal), providing a balanced and nutritious meal.
- Homemade Burrito or Grain Bowls: Transform your leftovers into a delicious and quick lunch by adding black beans, corn, salsa, avocado, and your choice of protein over a bed of basmati rice.
Recipe FAQs
Here are some frequently asked questions about cooking basmati rice in the Instant Pot, providing quick solutions and deeper insights to ensure your success:
For perfectly cooked, fluffy basmati rice in the Instant Pot, the ratio is a simple 1:1 (one cup of basmati rice to one cup of water or broth). This differs from stovetop methods where more water is typically required.
For 1 cup of white basmati rice, cook on High Pressure for 4 minutes, followed by a 5-minute natural pressure release (NPR) before a quick release (QR). If you prefer a slightly softer grain, you can increase the cooking time to 5 minutes on High Pressure.
While your Instant Pot has a “Rice” setting, it’s generally a pre-programmed mode that may not be optimal for basmati rice, which is delicate. It often runs for up to 12 minutes, which is too long for basmati and can lead to mushy results. For the best outcome with basmati, I highly recommend using the Manual or Pressure Cook setting on High Pressure and setting the time as specified in this recipe.
There are a few common reasons for sticky or mushy basmati rice:
- Too much water: Ensure you are using the precise 1:1 rice to water ratio.
- Insufficient rinsing: Not rinsing the rice thoroughly enough leaves too much starch, leading to stickiness.
- Lid left on too long: After the pressure release, if the lid is left on, the residual heat and steam will continue to cook the rice, causing it to overcook and become mushy. Always remove the lid promptly.
- “Keep Warm” function active: The “Keep Warm” setting can also continue to cook the rice and dry it out or make it mushy. Make sure to turn it off.
Typically, 1 cup of dried basmati rice will yield approximately 3 cups of cooked rice, as it triples in volume after cooking.
Yes, you can easily double or triple this recipe in your Instant Pot without changing the cooking time. The pressure cooking time remains the same because the time it takes for the pot to come to pressure will increase proportionally with the added volume, naturally adjusting for the larger quantity of ingredients.
No, this Instant Pot basmati rice recipe specifically does not require soaking. While soaking is often recommended for stovetop methods to achieve fluffiness, the high-pressure environment of the Instant Pot cooks the rice efficiently without this extra step.
More Instant Pot Recipes You’ll Love
Once you see how simple and delicious cooking basmati rice in your Instant Pot can be, you’ll be eager to explore its full potential. Here are some other fantastic Instant Pot recipes to try next, perfect for weeknight dinners or meal prepping!
Pork
Instant Pot Bacon
Air Fryer
20 Easy Instant Pot Air Fryer Recipes
Thanksgiving
Apple Curd
Main
Instant Pot Chicken Spaghetti
Watch the How-To Video
See exactly how easy it is to make perfect Instant Pot Basmati Rice by watching the step-by-step video below!
(Video placeholder: A detailed video demonstrating each step of cooking basmati rice in the Instant Pot would appear here.)
Print Recipe
Instant Pot Basmati Rice
Equipment
-
Instant Pot
-
Stirring Spoon
Ingredients
- 1 cup white (not brown) Indian basmati rice rinsed & drained well
- 1/2 – 1 Tablespoon unsalted butter*
- 1 cup water*
- 1 teaspoon salt
Instructions
-
Review all recipe notes and instructions before beginning.
-
Select the “Sauté” mode on the Instant Pot. Add the butter to the pot. Stir until the butter is completely melted.
-
Add the rice and sauté for 1-2 minutes, stirring often. Turn the pot OFF completely.
-
Stir in the water and salt, ensuring no rice is stuck to the bottom.
-
Secure the lid and set the valve to “Sealing.” Select “Pressure Cook” and “High Pressure” and set the timer for 4 minutes (5 minutes if you prefer softer rice). After the timer, allow a Natural Pressure Release for 5 minutes. Then, immediately Quick Release any remaining pressure by turning the valve to “Venting.” Remove the lid promptly to stop cooking. Fluff with a fork and serve.
Notes
- Unsalted Butter: Swap for 1 Tablespoon of olive oil or vegan butter for a dairy-free option.
- Water: For enhanced flavor, you can swap water with chicken broth or vegetable broth.
- Rinse the rice well. This is crucial! Place the rice in a fine mesh strainer or rice colander and run cold water over it until the water runs almost clear. This removes excess starch, ensuring fluffy, non-sticky grains.
- Use butter and salt. These ingredients are vital for flavor. Salt the rice before cooking so it absorbs the seasoning evenly. Butter coats the grains, preventing them from sticking together and adding richness.
- Add garlic. For an aromatic touch, add 1/4 teaspoon of granulated garlic per cup of rice during the sautéing step.
- This recipe is specifically for white basmati rice. It will not work for brown basmati rice, which requires different cooking times and liquid ratios.
Nutrition
Nutrition information is automatically calculated, so should only be used as an approximation.
There you have it – your comprehensive guide to cooking perfect, fluffy basmati rice in the Instant Pot. This simple yet effective method ensures consistent results every single time, making it an indispensable skill for any home cook. Embrace the ease, speed, and delicious outcome, and let this fragrant rice become a staple in your culinary adventures. Happy cooking!