
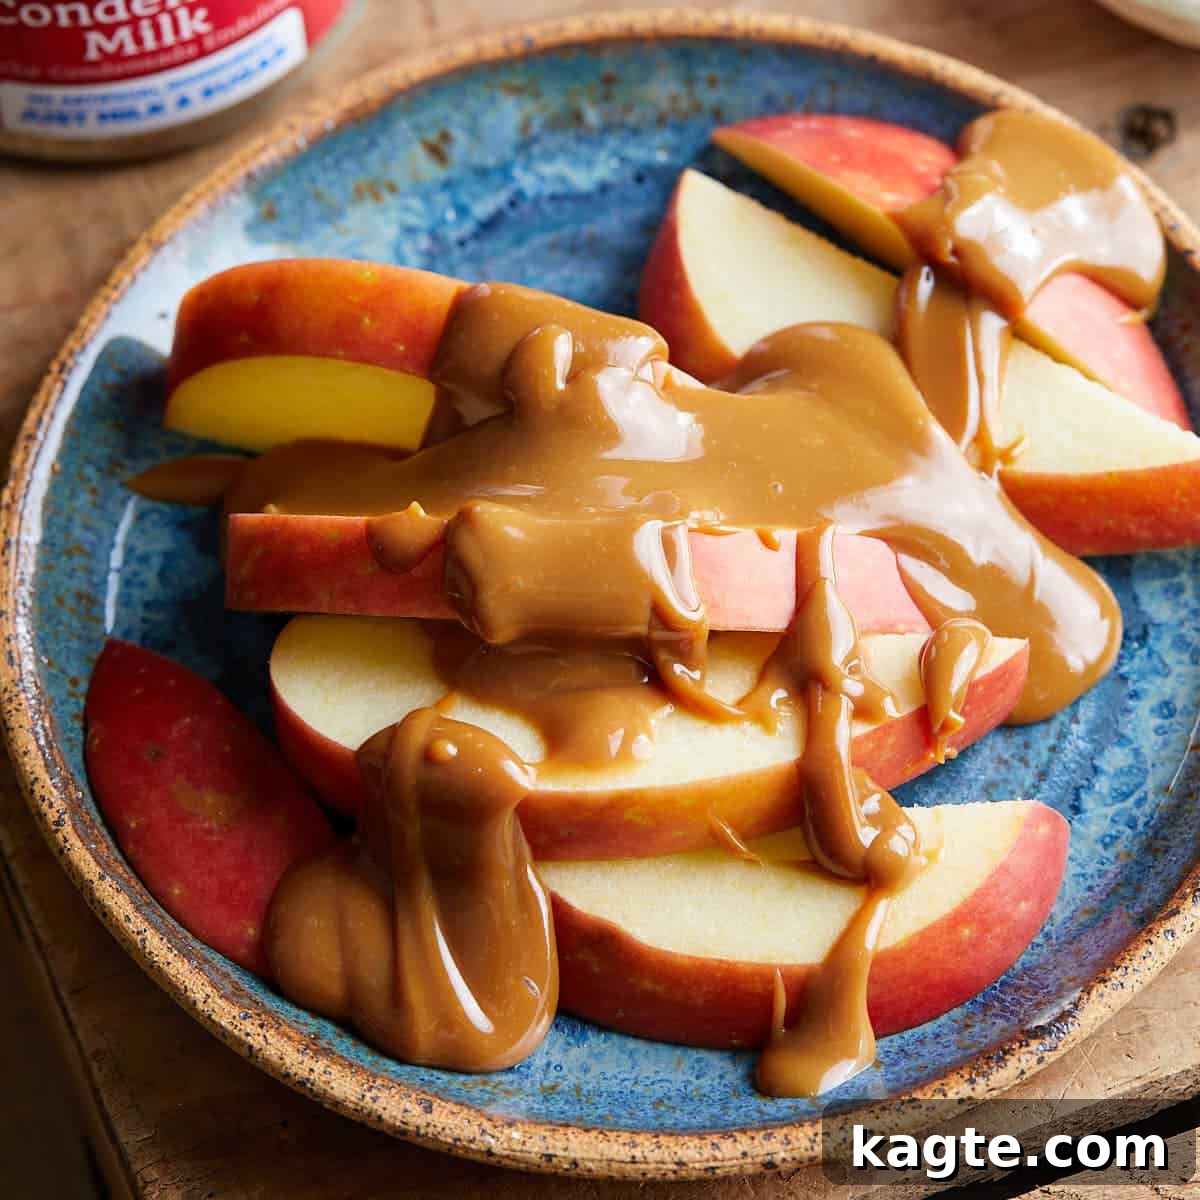
Unlock the secret to an incredibly versatile and irresistibly delicious treat with this easy Condensed Milk Caramel recipe. Known by many as Dulce de Leche, this luscious sauce requires just one simple ingredient and offers a homemade taste that rivals any store-bought, restaurant-quality, or complex homemade version. Whether you’re preparing for the festive holiday season or simply craving a sweet indulgence, this caramel is perfect for drizzling over desserts, spreading on toast, or enjoying straight from the spoon. Discover straightforward methods to create this rich, creamy caramel that you’ll want to incorporate into everything!
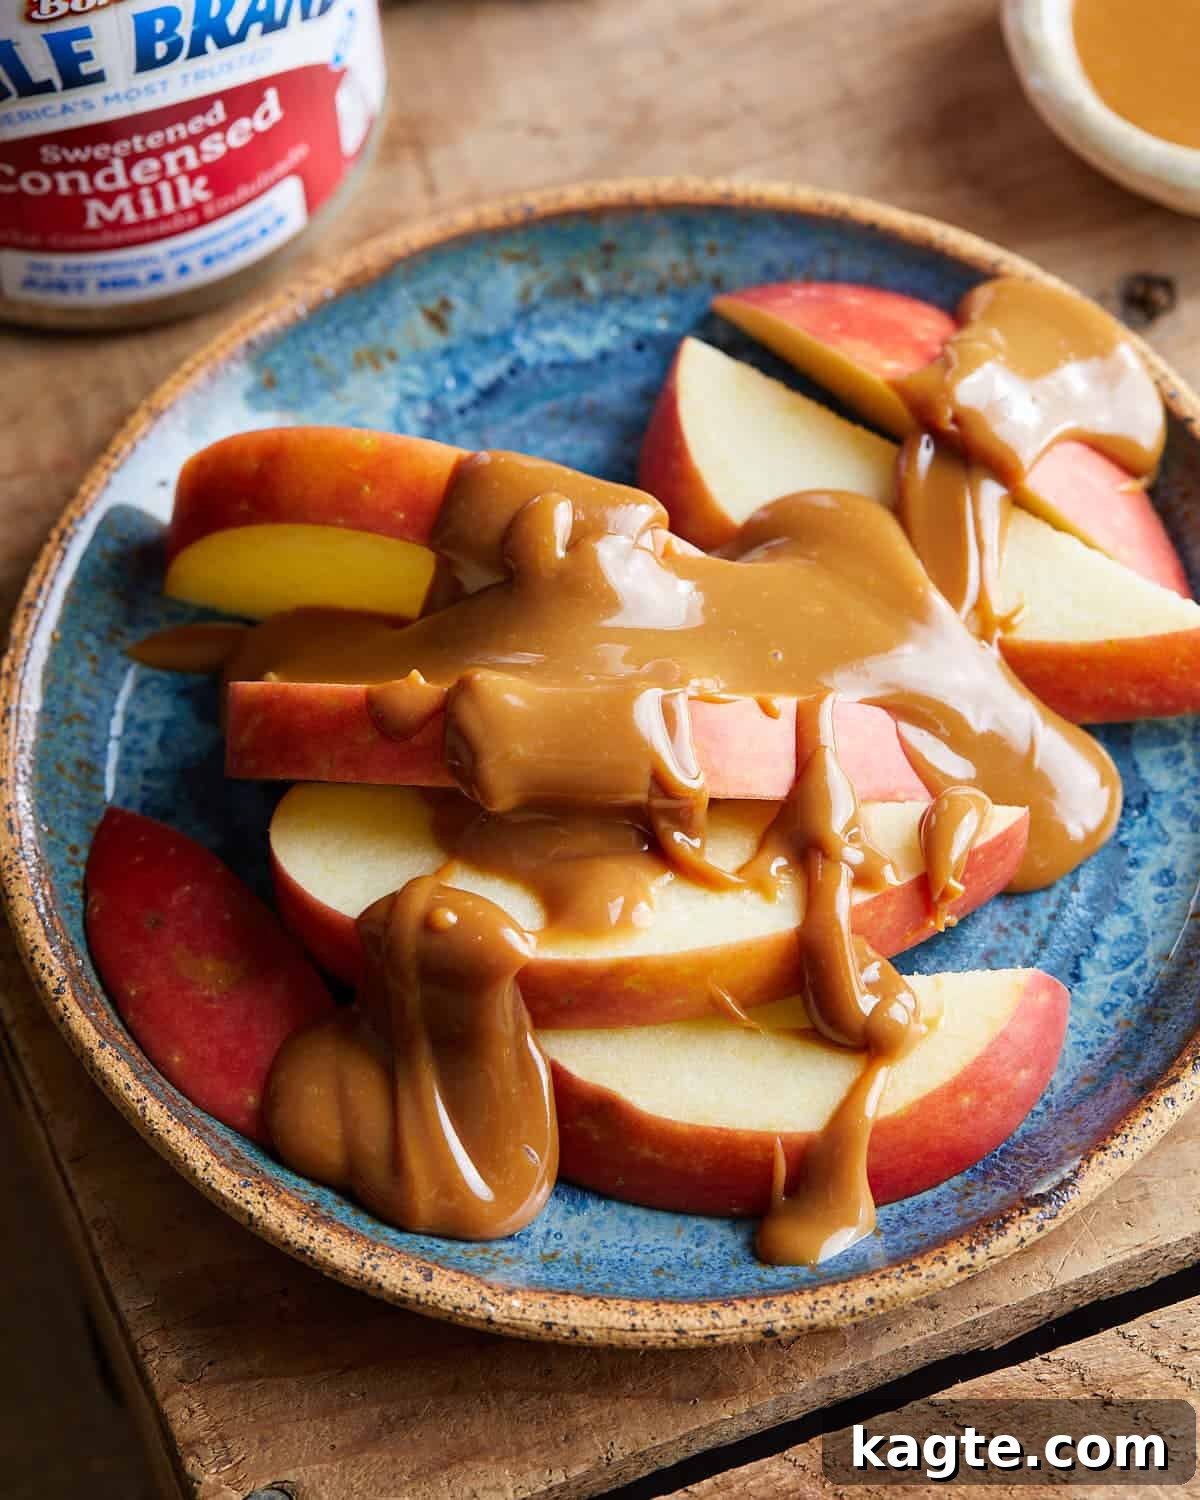
This delightful condensed milk caramel transforms sweetened condensed milk into a creamy, deeply flavored delight through a gentle cooking process. The simplicity of this recipe belies its incredible depth of flavor and smooth, luxurious texture. Below, you’ll find detailed, easy-to-follow instructions for making this caramel using either your slow cooker or a conventional oven. Both methods are largely hands-off, allowing the milk to slowly caramelize into a rich, golden-brown sauce. Once prepared, this exquisite caramel can be stored in the refrigerator for up to a week, making it perfect for meal prepping desserts, enriching multiple recipes, or simply savoring as a decadent treat whenever the craving strikes.
Craving more sweet recipes that utilize the magic of sweetened condensed milk? Explore these other delightful creations: Classic Pumpkin Pie with Sweetened Condensed Milk for a silky, spiced dessert, Edible Pumpkin Cookie Dough for a safe-to-eat, seasonal indulgence, or this Pumpkin Cream Cold Brew Recipe for a coffee shop experience at home.
Table of Contents
- Why You’ll Love This Recipe & What You’ll Learn
- Ingredients & Substitutions: The Sweet Secret
- How to Make Sweetened Condensed Milk Caramel: Step-by-Step
- Creative Ways to Use Your Homemade Caramel
- Expert Tips for Perfect Caramel
- Additions & Variations for Flavor Customization
- Recipe FAQs: Your Caramel Questions Answered
- More Dessert Recipes to Sweeten Your Day
- Sweetened Condensed Milk Caramel Recipe Card
Why You’ll Love This Recipe & What You’ll Learn
This condensed milk caramel isn’t just a recipe; it’s a revelation in simplicity and flavor. Here’s why it’s destined to become a staple in your kitchen, and what valuable cooking insights you’ll gain:
- Just 1 Ingredient: Imagine creating such a rich, complex flavor with only one item on your shopping list! This recipe simplifies dessert-making to its core, proving that extraordinary taste doesn’t require an extensive array of components. It’s incredibly budget-friendly and ensures you always have the main ingredient on hand for a spontaneous sweet treat.
- Remarkably Easy Preparation: Forget complicated candy thermometers or delicate sugar work. This recipe requires minimal effort, primarily needing a pan (or your slow cooker/oven), a whisk for finishing, and some water for the bain-marie. It’s a truly hands-off method that allows you to multitask while your caramel slowly transforms.
- Flexible Multiple Cooking Methods: Whether you prefer the set-it-and-forget-it convenience of a slow cooker or the consistent heat of an oven, this recipe offers reliable instructions for both. This flexibility means you can make delicious homemade caramel regardless of your kitchen equipment or time constraints, making it accessible to every home cook.
- Achieves a Luxuriously Creamy Texture: The slow cooking process breaks down the sugars in the sweetened condensed milk, resulting in a caramel that is inherently creamy and smooth. Unlike some caramels that can be overly sticky or brittle, this version offers a delightful melt-in-your-mouth consistency that’s perfect for drizzling, spreading, or dipping.
- Develops a Decadent, Rich Flavor: As the sweetened condensed milk caramelizes, it undergoes a magical transformation, deepening in color and developing a rich, complex flavor profile. This isn’t just sweet; it’s a symphony of toasted sugar notes, hints of butterscotch, and a profound, indulgent sweetness that truly elevates any dish it accompanies.
- Incredibly Versatile for Endless Uses: This isn’t just a topping; it’s a culinary canvas! From enhancing breakfast items like pancakes and waffles to becoming the star of elaborate desserts, this dulce de leche sauce is exceptionally adaptable. Its versatility makes it a fantastic addition to your recipe repertoire, ready to transform everyday foods into gourmet experiences.
Ingredients & Substitutions: The Sweet Secret
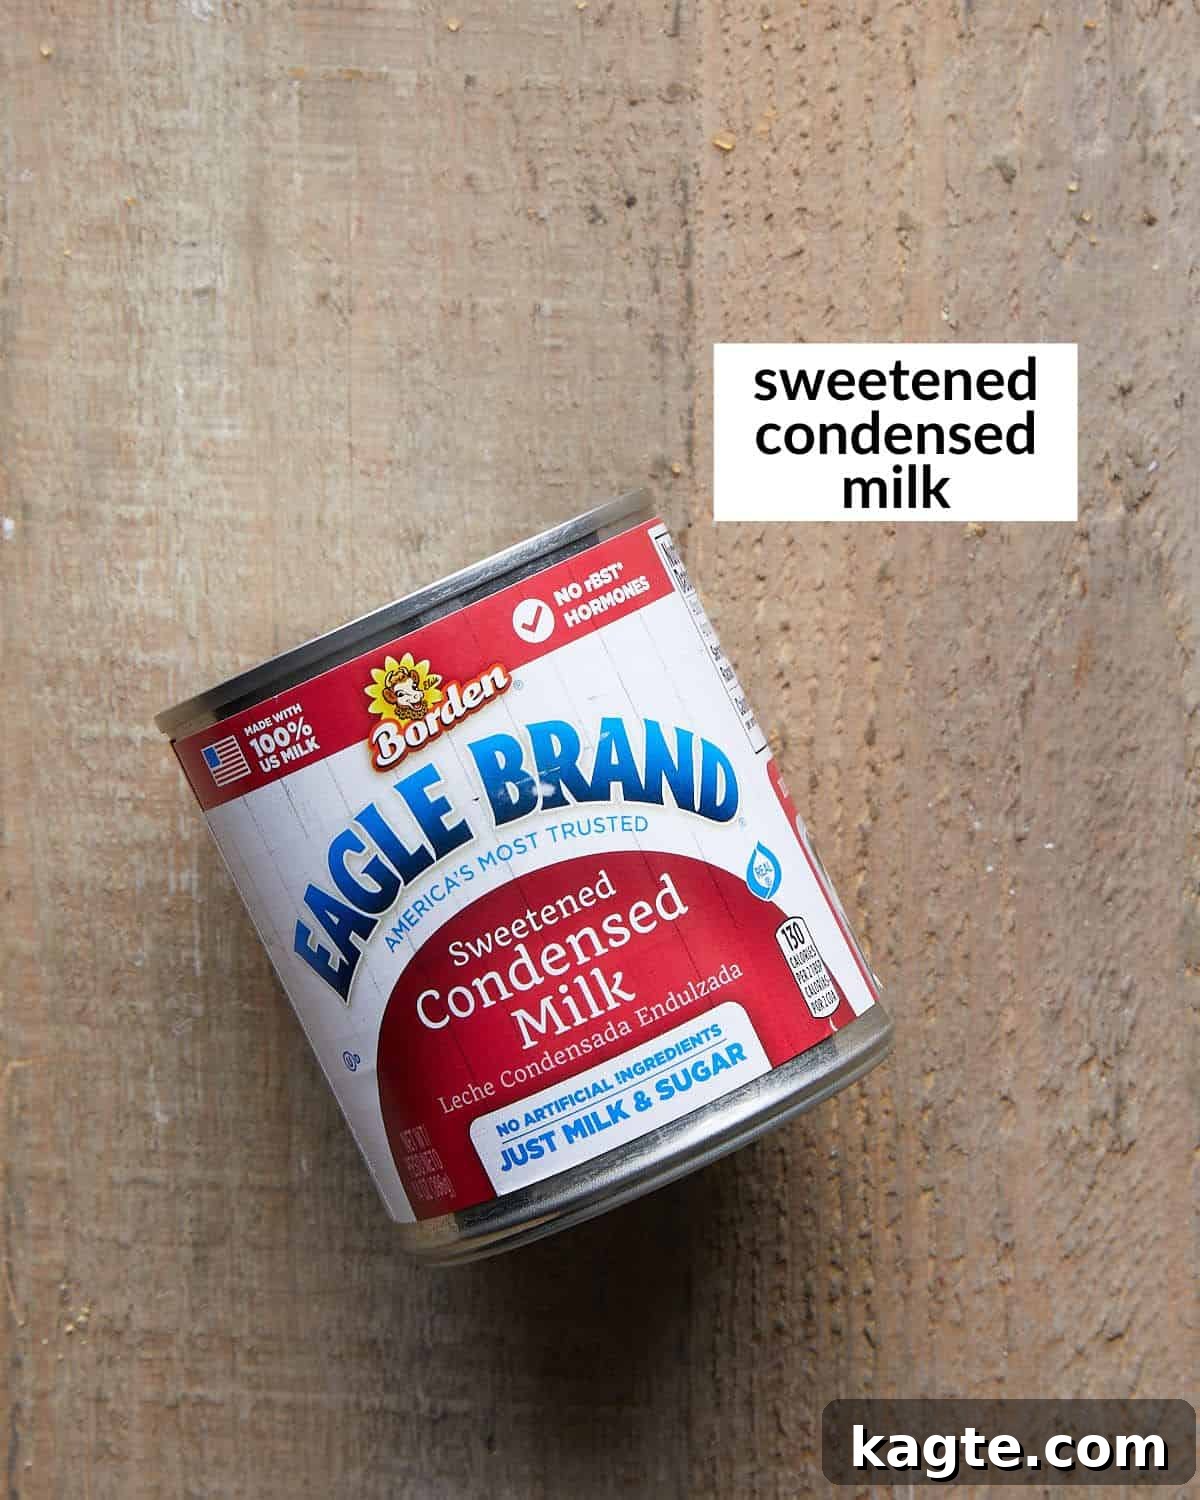
The beauty of this recipe lies in its elegant simplicity, relying on just one star ingredient to create a truly magical caramel sauce.
- Sweetened Condensed Milk: This is the absolute cornerstone of our condensed milk caramel. It is crucial to use *sweetened* condensed milk, which is milk that has had most of its water removed and sugar added, resulting in a thick, syrupy, and very sweet product. Brands like Eagle Brand or Carnation are widely available and work perfectly. This sweetness and thickness are what allow it to caramelize beautifully and achieve that iconic dulce de leche flavor and texture.
- What NOT to use: Evaporated Milk: Please do not confuse sweetened condensed milk with evaporated milk. Evaporated milk is also concentrated milk, but it contains no added sugar. If you attempt this recipe with evaporated milk, you will simply end up with a thicker, cooked milk, not the rich, sweet caramel we’re aiming for. Always double-check the label to ensure you have the correct sweetened condensed milk.
For precise measurements and a full list of ingredients, please refer to the recipe card below.
How to Make Sweetened Condensed Milk Caramel: Step-by-Step
Creating this irresistible caramel is surprisingly simple, thanks to these hands-off methods. Choose the one that best fits your schedule and kitchen setup:
Quick Overview
Slow Cooker Method
- Pour milk into a cake pan.
- Cover tightly with foil.
- Place in slow cooker with water bath.
- Cook until golden and thick.
- Whisk until smooth.
Oven Method
- Preheat oven.
- Pour milk into a cake pan.
- Cover tightly with foil.
- Place in roasting pan with water bath.
- Bake until deeply colored.
- Whisk until smooth.
Step-by-Step Instructions
Slow Cooker Method: Effortless Caramelization
To prevent any water from diluting your luscious caramel, always opt for a cake pan with higher sides rather than a shallow pie plate.
Step 1: Prepare the Milk. To begin your slow cooker condensed milk caramel journey, carefully pour the entire can of sweetened condensed milk into a 6-inch metal cake pan. Ensure this pan fits comfortably inside your slow cooker. The higher sides of a cake pan are crucial here, as they help prevent any water from the bath from splashing into your caramel. Cover the cake pan very tightly with aluminum foil, making sure to tuck the foil securely into the lip around the edge of the pan. A tight seal is key to trapping steam and ensuring proper caramelization without water interference.
Step 2: Set Up the Water Bath. Gently place the foil-covered cake pan into your slow cooker. This forms the inner component of a traditional bain-marie, or water bath, which cooks the caramel slowly and evenly.
Step 3: Add Hot Water. Boil a kettle of water. Once hot, carefully fill the slow cooker with enough boiling water to come up the side of the cake pan, ideally reaching the same level as the condensed milk inside the pan, but without touching the foil. This ensures the heat is evenly distributed around the milk. If your cake pan starts to float, gently place a small, oven-safe ramekin or a weighty, heat-proof dish on top of the foil to hold it down.
Step 4: Cook to Perfection. Place a paper towel directly over the top of the slow cooker insert, then securely cover it with the lid. The paper towel acts as a barrier, absorbing any condensation that forms on the lid and preventing it from dripping onto your foil-covered caramel. Cook on the HIGH setting for 4 hours, or if you prefer a longer, slower cook, use the LOW setting for 7-8 hours. Throughout the cooking process, check the water level every hour. As water will evaporate, add more boiling water as needed to maintain the initial level. If the paper towel becomes saturated, replace it. Try to limit how often you lift the lid, as escaping heat will prolong the cooking time.
Step 5: Careful Removal. Once cooked, the caramel will be deeply golden-brown. Using tongs and oven mitts for safety, carefully remove the hot cake pan from the slow cooker. Be mindful of the hot water.
Step 6: Achieve Smoothness. Remove the foil cover. At this stage, the caramel might appear thick and slightly lumpy, but don’t worry! Vigorously whisk the caramel until it becomes completely smooth and silky. If you desire a thinner consistency for drizzling, gradually whisk in a tablespoon or two of warm water or heavy cream until it reaches your preferred flow. This step ensures a beautifully uniform and decadent sauce.
Oven Method: Consistently Creamy Caramel
When setting up your water bath, ensure the hot water in the roasting pan matches the level of condensed milk in the cake pan for even cooking.
Step 1: Prepare & Preheat. Preheat your oven to 425 degrees Fahrenheit (220 degrees Celsius). Pour the sweetened condensed milk into a 6-inch metal cake pan or a similar pie pan. As with the slow cooker method, cover the pan very tightly with aluminum foil, pressing the foil firmly into the lip around the edge to create a secure seal. This prevents water from entering the caramel and promotes even cooking.
Step 2: Create the Water Bath. Place the foil-covered cake pan inside a larger roasting pan. This roasting pan will serve as your water bath, providing gentle, even heat to the caramel.
Step 3: Add Hot Water. Boil some water. Carefully fill the roasting pan with enough boiling water to reach up the side of the cake pan, ensuring the water level is as high as the condensed milk inside the cake pan, but again, without touching the foil. If the cake pan begins to float in the water bath, place a small, oven-safe ramekin or another heavy, heat-proof object gently on top of the foil to weigh it down and keep it submerged.
Step 4: Bake & Monitor. Carefully transfer the roasting pan with the water bath and covered cake pan into the preheated oven. Bake for approximately 2 hours. During this time, it’s a good idea to check the water level in the roasting pan occasionally (every 30-45 minutes) and add more hot water if needed, as some will evaporate. After 2 hours, check the caramel’s color. If you prefer a darker, more intensely flavored caramel, bake for an additional 30 minutes, keeping an eye on it to prevent over-browning.
Step 5: Remove with Care. Once baking is complete and the caramel has reached your desired color, carefully remove the roasting pan from the oven using oven mitts. Then, using tongs, meticulously lift the hot cake pan out of the water bath.
Step 6: Whisk to Perfection. Remove the foil covering from the cake pan. The caramel will be thick and might have some small lumps. Using a whisk, vigorously stir the caramel until it becomes wonderfully smooth and glossy. If you prefer a slightly thinner caramel for easy drizzling, incorporate a tablespoon or two of warm water or heavy cream, whisking until the desired consistency is achieved. Serve warm or allow to cool before refrigerating.
Creative Ways to Use Your Homemade Caramel
This glorious homemade condensed milk caramel sauce is incredibly versatile, transforming ordinary dishes into extraordinary delights. Its rich, creamy texture and deep, sweet flavor make it suitable for almost any dessert application, as a luxurious topping, a flavorful baking ingredient, or even a simple dip. Here are just a few ideas to inspire your culinary adventures:
- Elevate Baked Goods: Drizzle generously over warm Easy Dutch Oven Monkey Bread for an extra layer of sticky sweetness, or spoon it over Pumpkin Snickerdoodle Bars with Cream Cheese Glaze to add a decadent caramel swirl.
- Ice Cream & Sundaes: Transform a scoop of No Egg Vanilla Ice Cream into a gourmet sundae by liberally adding this caramel sauce, perhaps with a dollop of whipped cream and a sprinkle of nuts. It’s also fantastic with chocolate or coffee ice cream.
- Classic Caramel Apples: Forget store-bought caramel apple kits! Use this homemade condensed milk caramel recipe to create perfectly coated, chewy caramel apples that are sure to be a hit, especially during fall festivities.
- Banoffee Pie Brilliance: This caramel is the authentic base for a traditional banoffee pie. Layer it over a graham cracker pie crust with sliced bananas and whipped cream for an indulgent dessert that’s simple yet stunning.
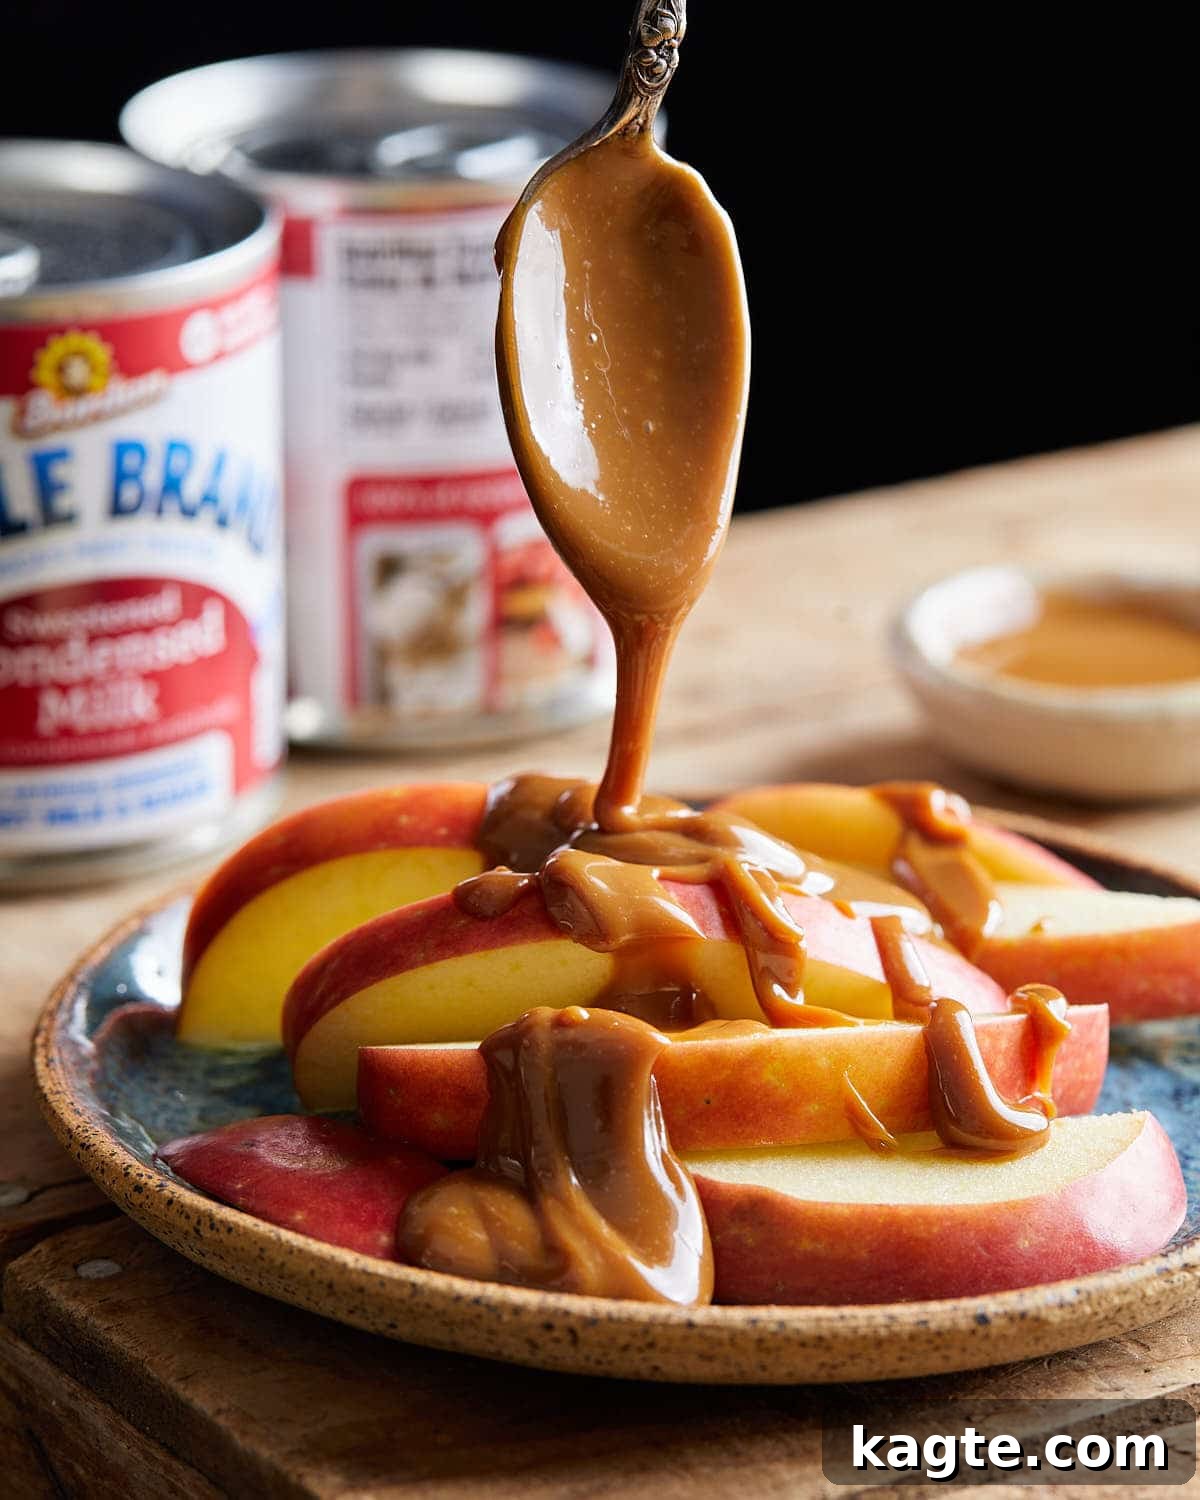
- Fruit Dipping Delight: Serve it warm as a dipping sauce for fresh fruit like apple slices, pear wedges, or even banana chunks. It makes for a sophisticated and satisfying snack.
- Coffee Creations: Stir a spoonful into your morning coffee, latte, or homemade cold brew for a rich, sweet caramel infusion. It’s the secret ingredient for gourmet caramel macchiatos at home.
- Pancakes, Waffles & French Toast: Ditch the maple syrup and smother your breakfast favorites with this caramel for an exceptionally indulgent start to your day.
- Cake and Cupcake Filling/Topping: Use it as a luscious filling for cakes and cupcakes, or swirl it into buttercream frosting for a caramel-flavored treat.
- Milkshakes & Smoothies: Blend a generous amount into your favorite vanilla or banana milkshake for a truly decadent drink.
Expert Tips for Perfect Caramel
Achieving the perfect homemade condensed milk caramel is easier than you think, especially with these insider tips to guide you:
- Wrap Tightly with Foil for Optimal Results: This step is paramount. Ensuring the foil is wrapped tightly and securely around your cake pan prevents any water from the bain-marie (water bath) from splashing in. Even a small amount of water can dilute your caramel, making it thinner and potentially affecting its texture and ability to properly caramelize. A tight seal also helps trap the steam, which aids in the even, gentle cooking process, resulting in a richer, more consistently flavored caramel.
- Whisk Vigorously for a Smooth Finish: After the cooking process, your caramel will likely be very thick and might have some small lumps or inconsistencies in texture. Don’t be alarmed! A robust whisking action is your best friend here. It effectively breaks down any tiny sugar crystals or slightly firmer bits, transforming the caramel into a perfectly smooth, velvety sauce. Keep whisking until it reaches that desirable, uniform consistency.
- Proper Refrigerated Storage for Extended Freshness: Like most homemade sauces, this condensed milk caramel needs to be refrigerated to maintain its freshness and extend its shelf life. Transfer the cooled caramel to an airtight container, such as a glass jar with a tight-fitting lid. Stored properly in the fridge, it will remain delicious for 5-7 days. For longer storage, you can freeze it in an airtight container for up to 2-3 months. Thaw in the refrigerator and gently reheat before serving.
- Monitor Water Levels Closely: Especially during the slow cooker or oven baking process, the water in your bain-marie will evaporate. Regularly checking and replenishing the hot water is crucial to maintain a consistent cooking temperature around the caramel and prevent the pan from drying out, which could lead to uneven cooking or burning.
- Adjust Consistency After Cooling: Caramel tends to thicken significantly as it cools. If you find your caramel is too thick after refrigeration, you can gently reheat it over low heat on the stovetop or in the microwave (in 15-second intervals), stirring in small amounts of warm water or heavy cream until it reaches your desired drizzling consistency.
Additions & Variations for Flavor Customization
While delicious on its own, your homemade condensed milk caramel is also a fantastic base for flavor experimentation. Here are some delightful additions and variations to customize your sauce:
- Create Salted Caramel with a Pinch of Salt: To transform your sweet caramel into a sophisticated salted caramel, simply stir in a pinch of good quality sea salt (flaky sea salt works wonderfully for texture) once you’ve removed it from the slow cooker or oven and have whisked it smooth. Start with a small amount, taste, and add more if desired, until you achieve the perfect balance of sweet and savory. This contrast beautifully enhances the caramel’s depth.
- Brighten with Citrus Zest: For a more complex and aromatic flavor profile, consider adding some finely grated orange or lemon zest to your caramel. The bright, tangy notes of citrus provide a lovely counterpoint to the rich sweetness. Stir the zest in after the caramel has finished cooking and has been whisked smooth.
- Infuse with a Splash of Vanilla: Adding vanilla extract is an excellent way to balance the flavors and impart a classic, warm richness to your cooked milk caramel sauce. Stir in about 1 teaspoon of good quality vanilla extract (or even vanilla bean paste for visible specks) after the caramel is out of the slow cooker or oven and has been whisked. Adding vanilla at the end is important because the alcohol in vanilla extract would largely evaporate during the long cooking process, diminishing its flavor.
- Spice it Up: For a warm and inviting twist, consider stirring in a dash of ground cinnamon, nutmeg, or even a tiny pinch of cardamom with the vanilla. These spices complement the caramel beautifully, especially for fall or holiday-themed desserts.
- Coffee or Espresso Kick: If you’re a coffee lover, a teaspoon of instant espresso powder or very strong brewed coffee can add a subtle depth and bitterness that perfectly balances the sweetness of the caramel. Add it at the end along with the vanilla.
Recipe FAQs: Your Caramel Questions Answered
For a very quick caramel, you can microwave sweetened condensed milk in a microwave-safe bowl. Heat it in short bursts (30 seconds to 1 minute), stirring thoroughly after each interval, until it turns a golden-brown color and thickens to your desired consistency. This can take anywhere from 2 to 5 minutes, depending on your microwave’s power. Once it reaches the desired color and consistency, use an immersion blender or a whisk to ensure it’s perfectly smooth. Allow it to cool completely before using for the best texture.
Yes, boiling a sealed can of sweetened condensed milk will indeed turn it into caramel (dulce de leche) over time, typically about three hours. However, I strongly advise against this method. There is a significant risk that the sealed can could burst due to internal pressure, especially if the water level drops and exposes the metal to direct heat. This can be extremely dangerous. For safety and peace of mind, I highly recommend using one of the water bath methods described above (slow cooker or oven), where the milk is transferred to an open pan and safely cooked.
While it’s a traditional method in some cultures, boiling a sealed can of condensed milk is generally not recommended due to safety concerns. The potential for the can to explode under pressure is a serious hazard. For a safe and equally delicious outcome, always transfer the sweetened condensed milk to a pan and cook it using a water bath in either a slow cooker or an oven.
If you opt for a stovetop method, which is quicker than boiling the can but requires more attention, you would simmer (not boil vigorously) sweetened condensed milk in a pan for approximately 20-30 minutes. You’ll need to stir it frequently to prevent scorching and ensure even caramelization. The caramel will gradually thicken and develop a beautiful golden-brown color when it’s ready. Once it reaches your desired color and consistency, remove it from the heat and whisk until smooth. Now you know how to make caramel from condensed milk on the stove!
Yes, absolutely. Once your delicious condensed milk caramel has cooled, it needs to be refrigerated to maintain its freshness and extend its shelf life. Store it in an airtight container, such as a glass jar, in the fridge. Properly stored, it will last for up to one week, making it convenient to use as needed for your favorite treats.
While both are sweet, rich, and brown, traditional caramel sauce is typically made by cooking granulated sugar until it caramelizes, then adding butter and cream. Dulce de leche (which literally means “sweet milk”) is made by slowly cooking sweetened milk (often sweetened condensed milk) until the sugars within the milk caramelize, resulting in a distinctively creamy, milky flavor and texture that is generally less intensely sweet and more “cooked milk” flavored than classic caramel sauce.
To reheat refrigerated caramel, simply spoon the desired amount into a microwave-safe bowl and heat in 15-second intervals, stirring well after each, until it reaches your preferred warmth and drizzling consistency. Alternatively, you can gently warm it in a saucepan over low heat on the stovetop, stirring constantly until smooth and fluid. If it’s too thick, add a tiny splash of warm water or heavy cream while reheating.
More Dessert Recipes to Sweeten Your Day
If you’ve fallen in love with the ease and deliciousness of this condensed milk caramel, you’re in for a treat! Here are more dessert recipes that are sure to satisfy your sweet tooth and expand your baking repertoire:
Dessert
No-Chill Chocolate Chip Cookies (Easy)
Christmas
20 Sweet Peppermint Recipes for Christmas
Fall
20 Sweet Pumpkin Recipes for Fall (From Breakfast to Dessert)
Breakfast
Blueberry Coffee Cake with Greek Yogurt & Streusel
Shop my Amazon Storefront for my favorite kitchen tools and ingredients!
If you try this incredible one-ingredient caramel recipe, please consider leaving a star rating in the recipe card below and/or a comment sharing your experience! I genuinely appreciate your feedback and love to hear from you. For more culinary inspiration and delicious recipes, follow me on Pinterest, Facebook & Instagram.

Print Recipe
Save Recipe
Sweetened Condensed Milk Caramel (1 Ingredient)
Equipment You’ll Need
-
6-inch Metal Cake Pan (or a similar heat-safe, high-sided pan)
-
Slow Cooker (for slow cooker method)
-
Small Whisk (for smoothing the caramel)
-
Large Roasting Pan (for oven method)
-
Aluminum Foil
-
Tongs and Oven Mitts (for safe handling)
Ingredients
- 1 14-ounce can sweetened condensed milk, like Eagle Brand*
Instructions
Slow Cooker Method
-
To make this delightful condensed milk caramel in your slow cooker, pour the entire contents of the sweetened condensed milk can into a 6-inch metal cake pan. Ensure the cake pan fits easily inside your slow cooker. Cover the cake pan very tightly with aluminum foil, pressing the foil securely into the lip around the edge to create a strong seal. This tight seal is crucial to prevent any water from entering the caramel during cooking.1 14-ounce can sweetened condensed milk
-
Carefully place the foil-covered cake pan into the bottom of your slow cooker insert. This prepares it for the gentle water bath cooking process.
-
Boil a kettle of water. Once the water is hot, carefully fill the slow cooker with enough water to come up the side of the cake pan, ensuring the water level is as high as the condensed milk inside the cake pan, but without touching the foil. If the cake pan floats, gently place a small, oven-safe ramekin or a weighty, heat-proof dish on top of the foil to hold it down.
-
Place a paper towel over the top of the slow cooker insert, then securely cover it with the slow cooker lid. The paper towel will absorb any condensation from the lid, preventing it from dripping onto your caramel. Cook on the HIGH setting for 4 hours, or for a slower, richer caramel, cook on the LOW setting for 7-8 hours. Check the water level every hour and add more boiling water as needed to compensate for evaporation. You can replace the paper towel if it becomes saturated. Try to keep the lid on as much as possible to maintain consistent heat.
-
Once cooked, the caramel should be a deep golden-brown. Using tongs and oven mitts for safety, carefully remove the hot cake pan from the slow cooker. Be cautious of the hot water.
-
Remove the foil cover. The caramel will appear thick. Vigorously whisk the caramel until it is completely smooth and free of any lumps. If you desire a thinner consistency, gradually whisk in a tablespoon or two of warm water or heavy cream until it reaches your desired flow. Serve warm or allow to cool before refrigerating.
Oven Method: Consistent & Hands-Off
-
Preheat your oven to 425 degrees Fahrenheit (220°C). Pour the sweetened condensed milk into a 6-inch metal cake pan or a similar pie pan. Cover the pan very tightly with aluminum foil, pressing the foil firmly into the lip around the edge to ensure a secure seal and prevent any water from entering.1 14-ounce can sweetened condensed milk
-
Place the foil-covered cake pan inside a larger roasting pan. This roasting pan will act as your water bath, providing gentle, even heat to the caramel.
-
Boil some water. Carefully fill the roasting pan with enough boiling water to come up the side of the cake pan. The water level should be as high as the condensed milk inside the cake pan, but it should not touch the foil. If the cake pan floats, place a small oven-safe ramekin or another heavy, heat-proof object gently on top of the foil to weigh it down.
-
Carefully transfer the roasting pan to the preheated oven and bake for 2 hours. Check the water level in the roasting pan occasionally (every 30-45 minutes) and add more hot water if needed, as some will evaporate. After 2 hours, check the caramel’s color. If you prefer a darker, more intensely flavored caramel, bake for an additional 30 minutes, keeping a close eye on it to prevent burning.
-
Once baking is complete and the caramel has reached your desired color, carefully remove the roasting pan from the oven using oven mitts. Then, using tongs, meticulously lift the hot cake pan out of the water bath.
-
Remove the foil covering from the cake pan. The caramel will be very thick and may have some small lumps. Using a whisk, vigorously stir the caramel until it becomes wonderfully smooth and glossy. If you prefer a slightly thinner caramel for easy drizzling, incorporate a tablespoon or two of warm water or heavy cream, whisking until the desired consistency is achieved. Serve warm or allow to cool before refrigerating.
Notes for Success
- Sweetened Condensed Milk is Key: Always ensure you are using sweetened condensed milk for this recipe, not other types of milk like evaporated milk. Sweetened condensed milk is thick and very sweet, which is essential for creating the rich, caramelized flavor and consistency of dulce de leche. Evaporated milk will not caramelize in the same way.
- Wrap Tightly with Foil: A crucial step for perfect caramel is to ensure the cake pan is wrapped tightly with aluminum foil. This seal prevents any water from the surrounding bath from splashing into the caramel, which could thin it out and hinder proper caramelization.
- Whisk for Smoothness: After cooking, the caramel might appear somewhat lumpy or very thick. A vigorous whisking action is key to achieving a beautifully smooth and uniform homemade caramel sauce. Continue whisking until all lumps are dissolved and the texture is velvety.
- Proper Refrigeration: To maintain its freshness and quality, this homemade condensed milk caramel needs to be refrigerated once cooled. Store it in an airtight container, such as a glass jar, in the fridge. It will stay fresh and delicious for up to one week.
- Adjusting Consistency: If your caramel is too thick after cooling, gently reheat it on the stovetop over low heat or in 15-second intervals in the microwave, stirring in a small amount of warm water or heavy cream until it reaches your desired drizzling consistency.
Nutrition Information (Approximate)
Nutrition information is automatically calculated and should only be used as an approximation. It may vary based on specific brands and preparation methods.